

silerofor voice activity detection (VAD)gpt-4o-transcribefor speech-to-text (STT)gpt-4o-minifor generating responsesrimefor text-to-speech (TTS)
- A pipeline is a sequence of frame processors. Audio frames flow in, are transcribed, processed by the LLM, and synthesized into speech, then flow back out.
- A transport handles real-time audio input and output (I/O). Pipecat supports multiple transports, including WebRTC (browser), WebSocket, and local audio devices.
- Frame processors transform frames as they flow through the pipeline. Each service (STT, LLM, TTS) is a processor.
Step 1: Prerequisites
Gather the following API keys and tools before starting:1.1 A Rime API key
Sign up for a Rime account and copy your API key from the API Tokens page. This enables access to the Rime API for generating TTS.1.2 An OpenAI API key
Create an OpenAI account and generate an API key from the API keys page. This key enables STT transcription and LLM responses.1.3 Python
Install Python 3.11 or later (required by Pipecat 1.x). Verify your installation by running the following command in your terminal:Step 2: Project setup
Set up your project folder, environment variables, and dependencies.2.1 Create the project folder
Create a new folder for your project and navigate into it:2.2 Set up environment variables
In the new directory, create a file called.env and add the keys that you gathered in Step 1:
Replace the placeholder values with your actual API keys.
2.3 Configure dependencies
Install theuv package manager:
pyproject.toml file and add the following dependencies to it:
[openai,rime,silero,webrtc,runner]) install the following plugins:
openaiadds STT and LLM services for transcription and generating responses.rimeadds a TTS service for synthesizing speech.sileroadds VAD for detecting when the user starts and stops speaking.webrtcprovides the transport for browser-based audio via WebRTC.runneradds a development runner that handles server setup and WebRTC connections, and includes a ready-to-use browser client for talking to your agent.
This guide targets Pipecat 1.x (verified against 1.5.0). Several APIs were renamed or moved in the 1.0 release, so code written for
pipecat-ai 0.x won’t run unchanged.Step 3: Create the agent
Create anagent.py file for the agent code. To skip the explanation and paste the finished file, go to Step 3.5: Full agent code.
3.1 Load environment variables and configure imports
Add the following imports and initialization code toagent.py:
Pipelinechains processors together in sequence.PipelineRunnerandPipelineWorkermanage the event loop and run the pipeline.LLMRunFrametriggers the LLM to respond when queued.- Services like
OpenAISTTService,OpenAILLMService, andRimeTTSServiceare the frame processors that do the actual work. LLMContextmaintains conversation history across turns, andLLMContextAggregatorPairkeeps it updated from both sides of the conversation.SileroVADAnalyzerdetects speech boundaries so the agent knows when you’ve finished talking.create_transportandTransportParamsset up the WebRTC transport for browser-based audio.RunnerArgumentsprovides connection details when a user connects to the agent.
3.2 Define the system prompt
Add the following configuration below the imports:3.3 Code the conversation pipeline
First, tell the runner how to configure the transport. Add the following below the system prompt:webrtc entry enables audio input and output for the browser-based WebRTC transport that this guide uses.
Next, add the following bot function to agent.py:
bot in your module. When a user connects via WebRTC, the runner calls this function and passes connection details through runner_args.
Inside the bot function, create the transport:
create_transport matches the incoming connection against your transport_params dictionary and builds the right transport for it.
Next, add the AI services for transcription, response generation, and speech synthesis:
coda model for TTS. RimeTTSService works with Rime’s current models (coda, mistv3, mistv2).
Add the conversation context:
- Audio in: Raw microphone input from the user
- Transcription: Converting speech to text via the STT provider
- User context: Aggregating the user’s message into the conversation history
- LLM response: Generating a reply based on the conversation so far
- Speech synthesis: Converting the LLM’s text response to audio via Rime TTS
- Audio out: Streaming the synthesized speech back to the user
- Assistant context: Recording the assistant’s response in the conversation history
on_client_connected event fires when a user connects to the agent. It appends a system message prompting the LLM to greet the user, then queues an LLMRunFrame to trigger an immediate response.
3.4 Create the main entrypoint
Add the following code at the bottom ofagent.py:
main helper from pipecat.runner.run automatically:
- Discovers the
botfunction in your module - Starts a FastAPI server with WebRTC endpoints
- Serves a prebuilt browser client at
/client - Sets up the WebRTC connection and passes the connection to your
botfunction
3.5 Full agent code
At this point, youragent.py file should look like the complete example below:
Full agent code
Full agent code
Step 4: Test your agent
Run the agent from the terminal withuv, then talk to it in your browser.
4.1 Start the agent
Run the following command to start your agent:4.2 Connect to your agent
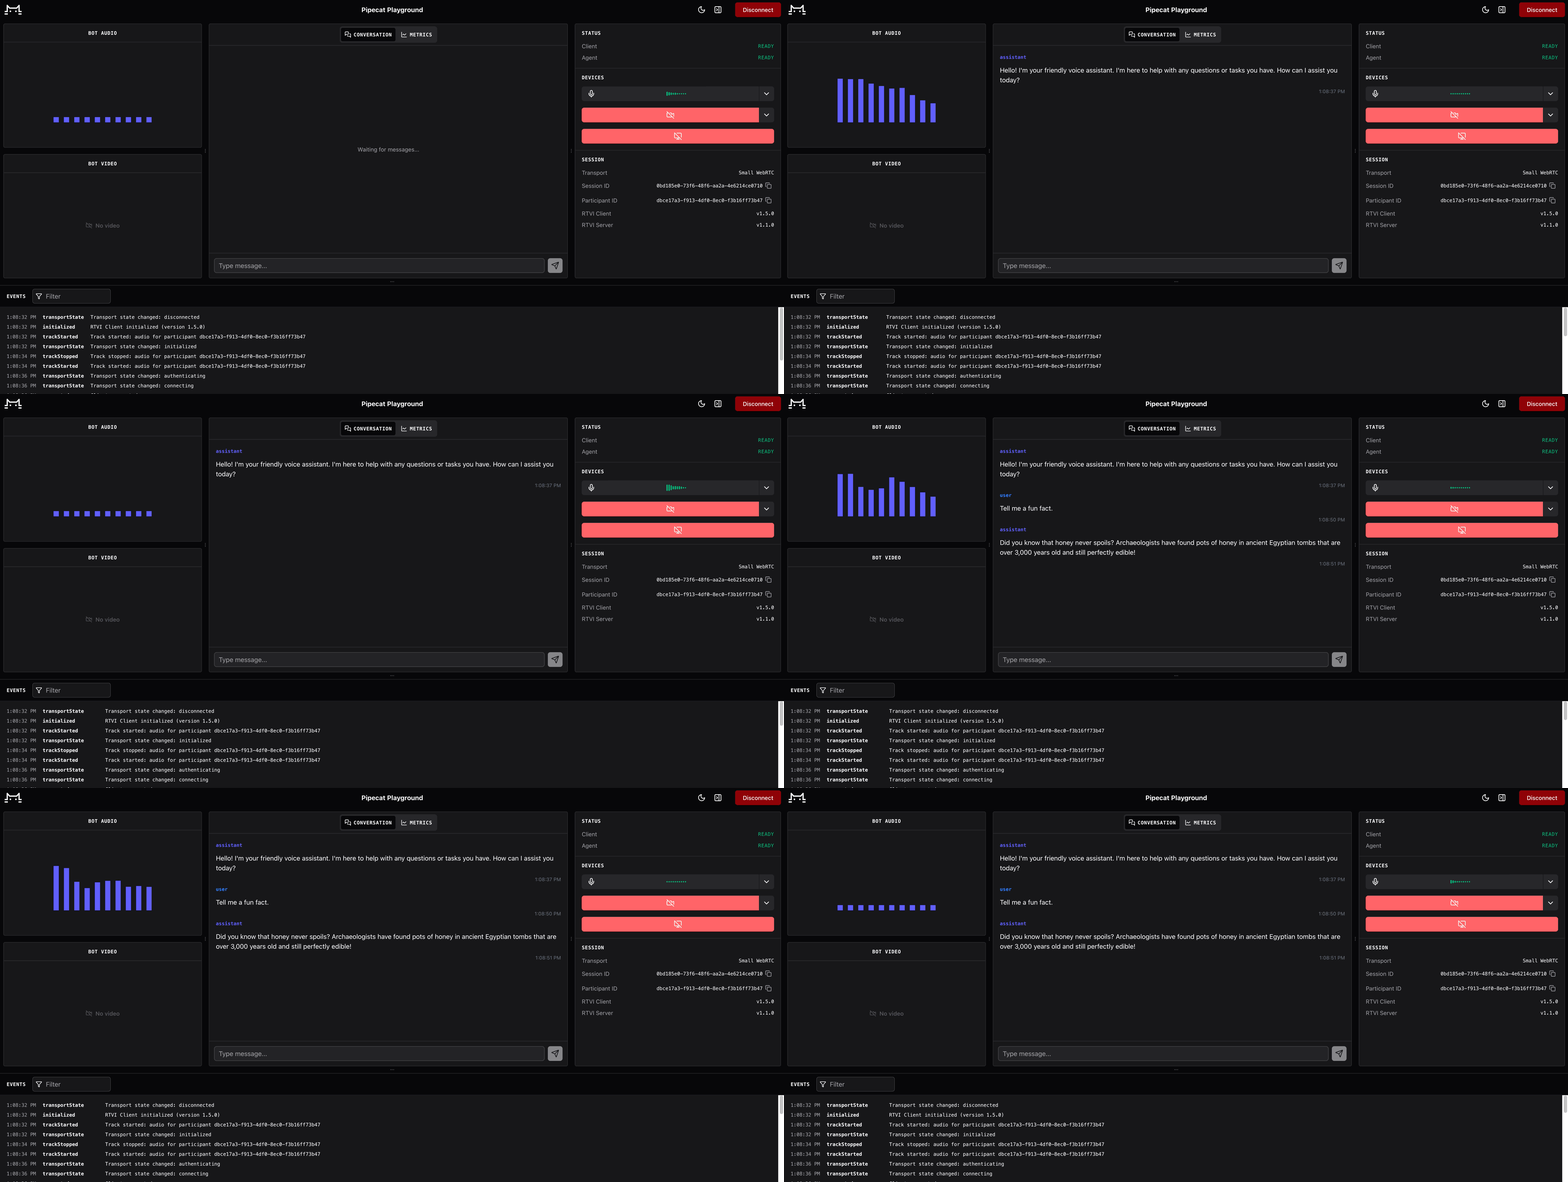
Open a browser and navigate tohttp://localhost:7860/client. Allow microphone access when prompted.
You can now talk to your agent using your microphone.
Step 5: Customize your agent
Change the voice in thetts service, or move the system prompt into its own file.
5.1 Change the voice
Update thetts initialization in your bot function to try a different voice:
5.2 Fine-tune agent personalities
Create a new file calledpersonality.py with the following content:
Example personality file
Example personality file
agent.py to import and use this prompt:
on_client_connected handler to use your custom intro message:
Swap agent components
Each Pipecat component can be swapped independently:- Replace OpenAI with another STT provider such as Deepgram or AssemblyAI.
- Use a different LLM such as Anthropic, Gemini, or a local model.
- Switch transports to WebSocket for server-to-server, or to Daily’s hosted rooms for production deployments.
Troubleshooting
No audio output and other TTS errors
- Check your TTS service class: Use
RimeTTSService. It supports Rime’s current models (coda,mistv3,mistv2). The olderRimeNonJsonTTSServiceis deprecated and will be removed in Pipecat 2.0. - Verify your Rime API key: Ensure the key is valid and has TTS permissions.
Import errors when starting the agent
- Check your Pipecat version: Errors like
No module named 'pipecat.processors.aggregators.openai_llm_context'mean you’re running code written for Pipecat 0.x on a 1.x install (or vice versa). This guide requirespipecat-ai1.5 or later: the 1.0 release renamedOpenAILLMContexttoLLMContext, replacedllm.create_context_aggregator()withLLMContextAggregatorPair, and moved VAD configuration fromTransportParamstoLLMUserAggregatorParams.
The agent doesn’t respond to speech
- Check microphone permissions: Ensure you’ve enabled microphone access in your browser.
- Verify VAD is working: Look for logs indicating speech detection. If the logs are missing, check your Silero installation.
- Test audio input: Use a different microphone or headset.
”API key not set” errors
- Check environment variables: Ensure you set all keys correctly (with no extra spaces) in
.env. - Verify the
.envfile location: The file should be in the same directory asagent.py.
Audio quality issues
- Check your microphone: Test using a different input device or headset.
- Reduce background noise: The VAD may struggle to detect speech in noisy environments.