

Prerequisites
- A Rime account: Sign up free (you’ll sign in through the CLI)
- macOS or Linux (the CLI runs on both)
Step 1: Install the CLI
Install the CLI with Rime’s installation script:Shell script
After installation, you may need to open a new terminal or run
source ~/.zshrc (or ~/.bashrc) for the rime command to be available.Step 2: Log in
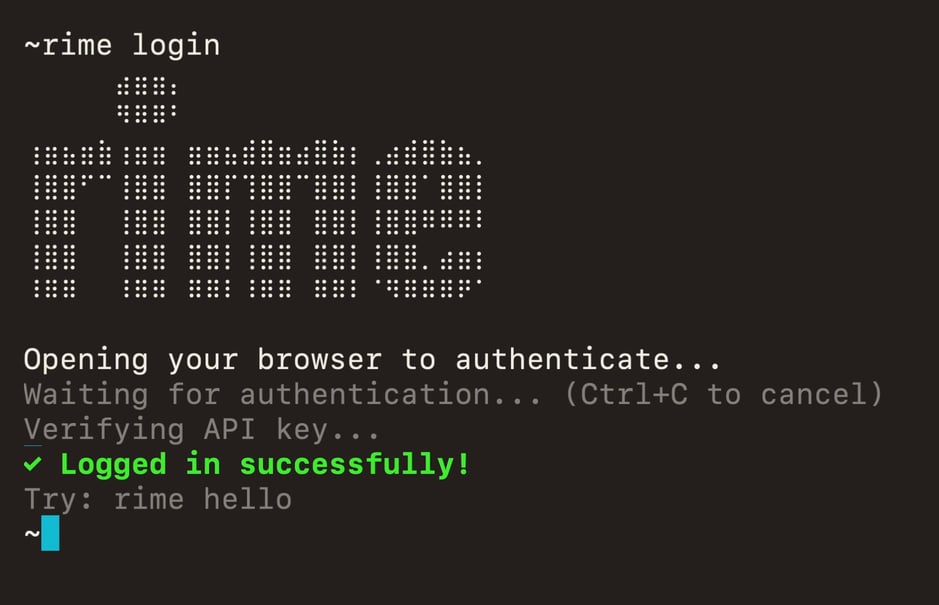
rime login opens the Rime dashboard in your browser. After you authenticate, the CLI saves your API key to ~/.rime/rime.toml:
Step 3: Hear your first voice
Run the built-in sample: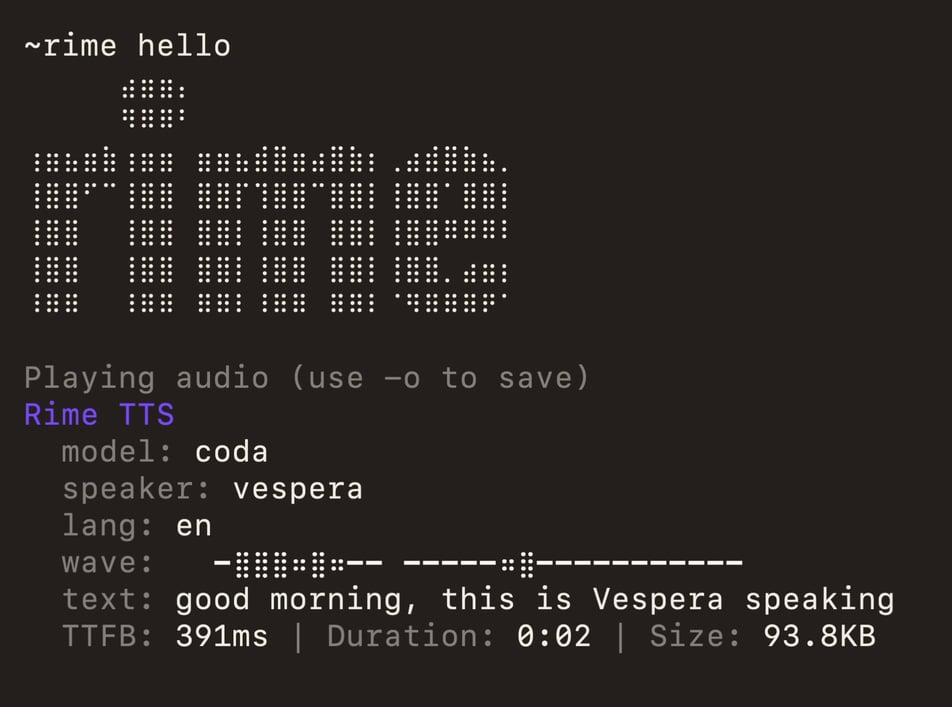
Synthesize your own text
rime tts sends your text to the voice (-s) and model (-m) you choose. This command reads a short sentence in the vespera voice on Coda:
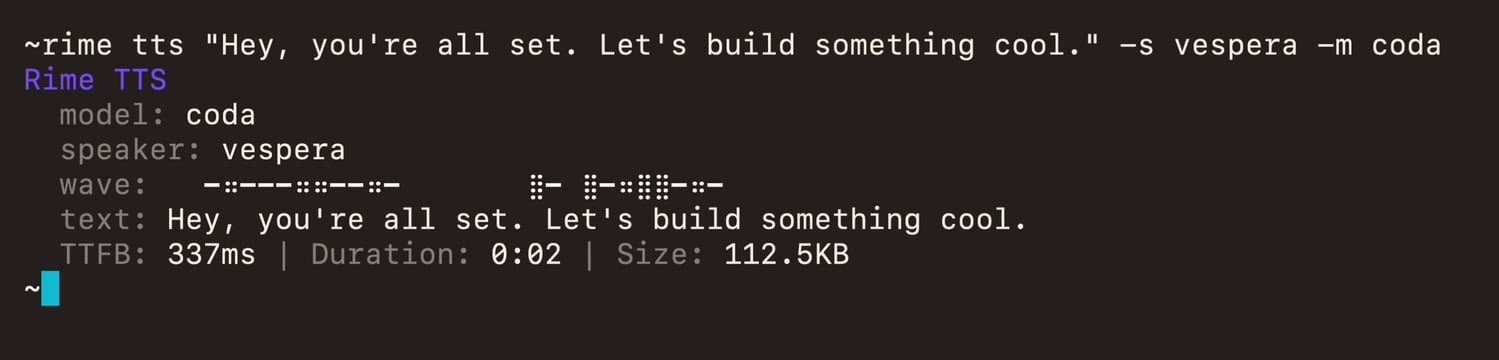
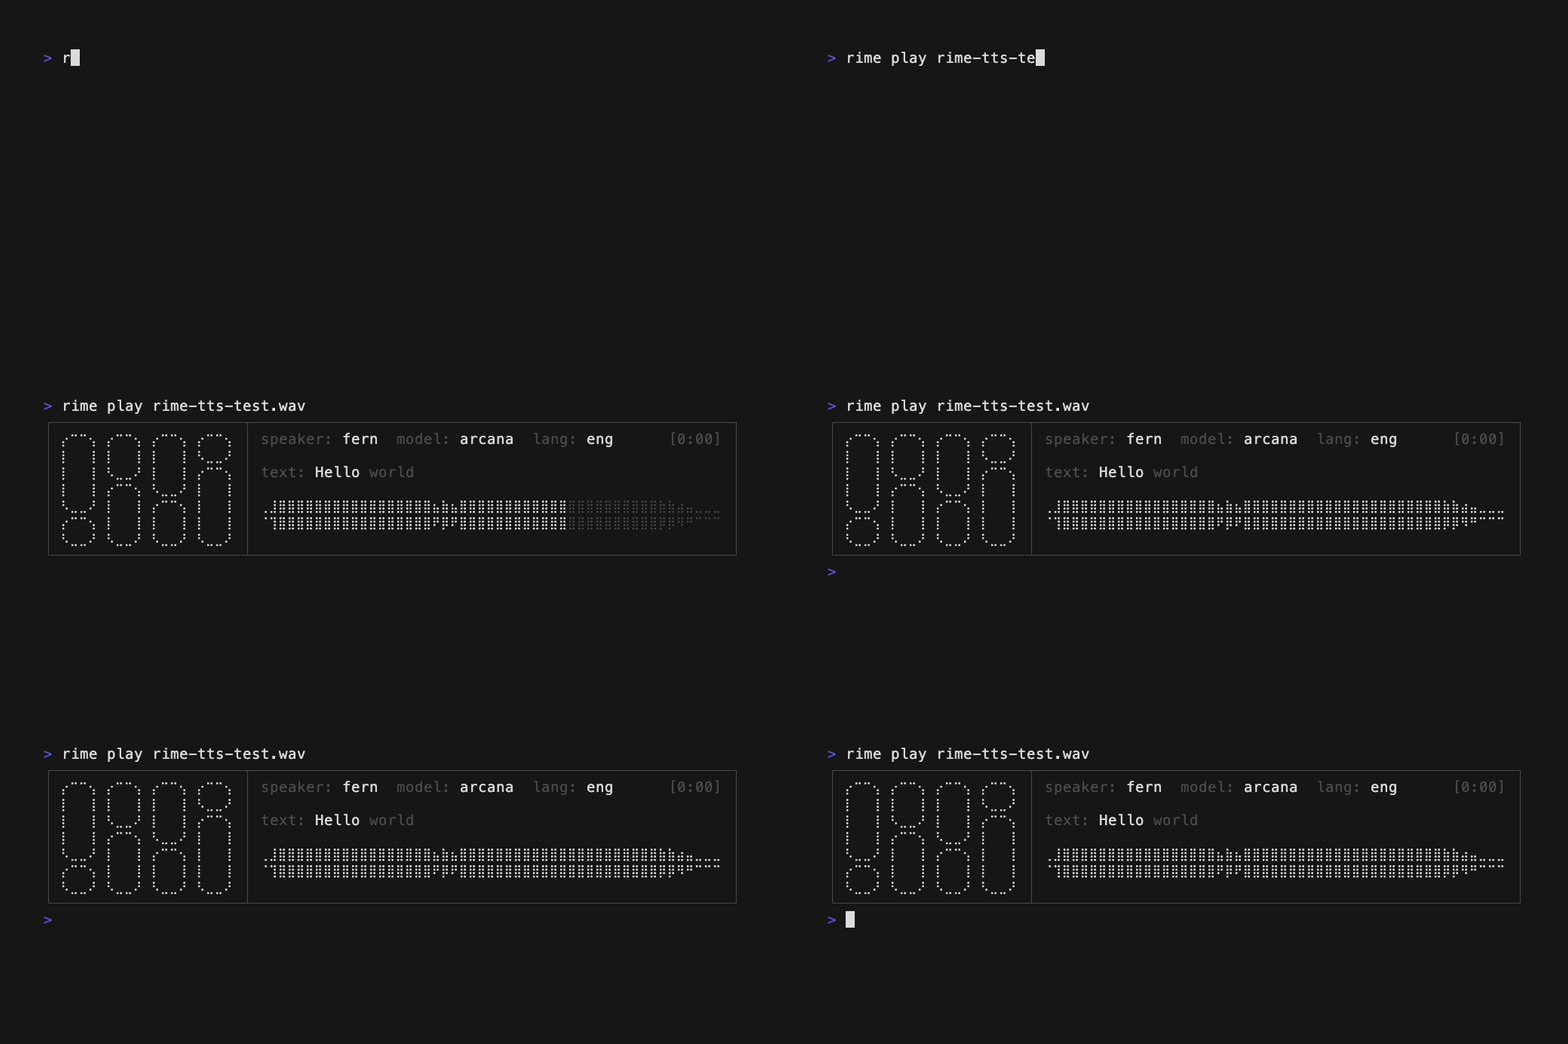
-o to save it to a file you can replay or share instead:
Try different voices and models
Rime has 313 Coda voices and 78 Mist v3 voices. Swap the--speaker flag to change the voice. These commands keep the sentence the same, so you hear only what the voice and model change:
coda and mistv3 output WAV by default. Use --format mp3 for MP3.Generate a curl command
When you’re ready to call the API from your own code,rime curl prints the HTTP request behind a rime tts command:
rime key, so it does not print the key. Add --oneline for single-line output.
CLI and API references
CLI Reference
Full command and flag reference
Voices
Browse the current voice catalog
Models
Compare Coda and Mist v3
TTS in Five Minutes
Use the API from Python or JavaScript